14 Dec

Although those new to or just getting started with Adobe Illustrator may find using clipping masks daunting it is in fact a very simple process. Clipping masks are used to obscure parts of your design you wish to hide, they can be any shape or size and can be a great way to improve your end result. Follow this short step-by-step guide to learn how to add Illustrator clipping masks to your skill set. If you don’t have Adobe Illustrator you can download the free 30 day trial directly from the Adobe website.
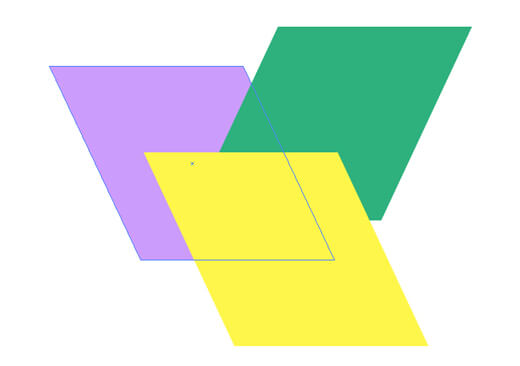
Before we start it’s important to understand how clipping masks work. In the example below I have three shapes stacked on top of one another in a layer.

On the same layer I add a circle to the top of the ‘stack’.

With all of the shapes selected including the circle on the top I go to Object > Clipping Mask > Make.

Voila! The circle now acts as a mask, obscuring the parts of the shapes beneath that don’t fall within it.

The circle is the clipping mask as it is on the top of the stack, the mask will always be the object at the top of the stack of selected items. It’s important to remember that whatever colour fill or stroke you have applied to the mask (in this case the circle) it will be removed on application of the clipping mask command.
If we apply this to a quick type exercise you’ll see how effective clipping masks can be.
Step 1. Find a photograph you’d like to work with, I’ve chosen something festive :)

Step 2. Open this up in Illustrator by going to File > Open, navigate to your image and hit Open. Select the type tool from the tool bar and click on your image to start typing.

Step 3. Type out your text and once your happy with how it’s laid out got to Type > Create Outlines. This converts your type from being live text to plain artwork.

* Notice that you can now see the vector path around your type.

Step 4. The text is composed of multiple pieces, in order for the clipping mask to work we need the text to behave as one piece. To do this we need to convert the outlined text into a compound path. To do this simply select your outlined text and go to Object > Compound Path > Make (or hit CMD 8).

* Notice that your text will take on a no stroke, no fill appearance.

Step 5. Finally select your image and your outlined, compound path type on the top. With both selected go to Object > Clipping Mask > Make.

Step 6. Boom! Your image is now ‘clipped’ to the shape of your text.


What’s really great about this is that you can reposition the image in the back of the clipping mask using the Direct Selection tool (white arrow) to fine tune your design.
If you’re looking to learn Adobe Illustrator check out the Adobe Illustrator courses that we regularly run online and at our central London Studios.


